[vc_column_text pb_margin_bottom=”no” pb_border_bottom=”no” width=”3/4″ el_position=”first last”]
Getting Started Guide.
If you are the type of person who likes to leap in and just get going then this one pager will get you started quickly.
Otherwise at least read Chapters 1 – ‘Navigating the system’, and Chapter 2 – ‘Create and Conduct a Survey’ – for greater detail.
Introduction
There are four stages you need to understand and step through in order to launch a survey.
They are depicted on the main menu page under the menu heading “Survey” (Shown below).
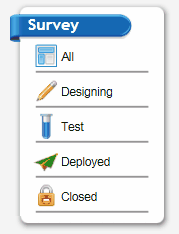
Clicking on each of these icons will reveal the surveys you currently have in each of these modes – Designing, Test, Deployed and Closed.
You need to move through the three modes – Designing -> Test Mode -> Deployed to launch a survey and begin collecting data.
Note: To move back to “Design” mode from any of the other modes select “Redesign Survey” from the drop down menu, (explained below) Moving up each mode is explained below.
Stage 1. Create your survey.
The first stage is to create a survey and build it. Click on the create survey button (circled below) on the main screen.
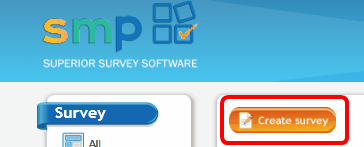
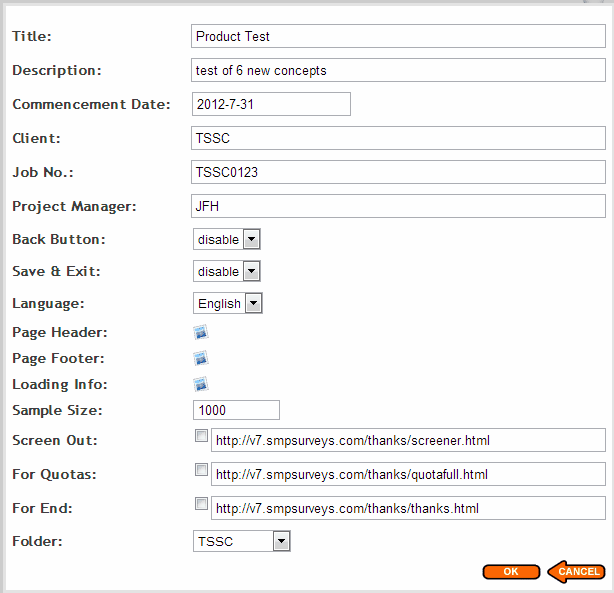
Fill in the details regarding the survey you are creating on the survey details page. (shown below). The fields up to and including ‘Project Manager’ must be filled in at this stage to continue. The other fields can be completed at another time.
Stage 2. Add questions to your survey – The Survey Editor
After you have completed the ‘Survey Details’ pop up above you will be taken to the ‘Survey Editor’ This is where you build your survey.
After exiting the survey editor you can return to further add to your survey by selecting the ‘Edit Survey’ option on the survey row that now appears in the main screen.
The Survey Editor
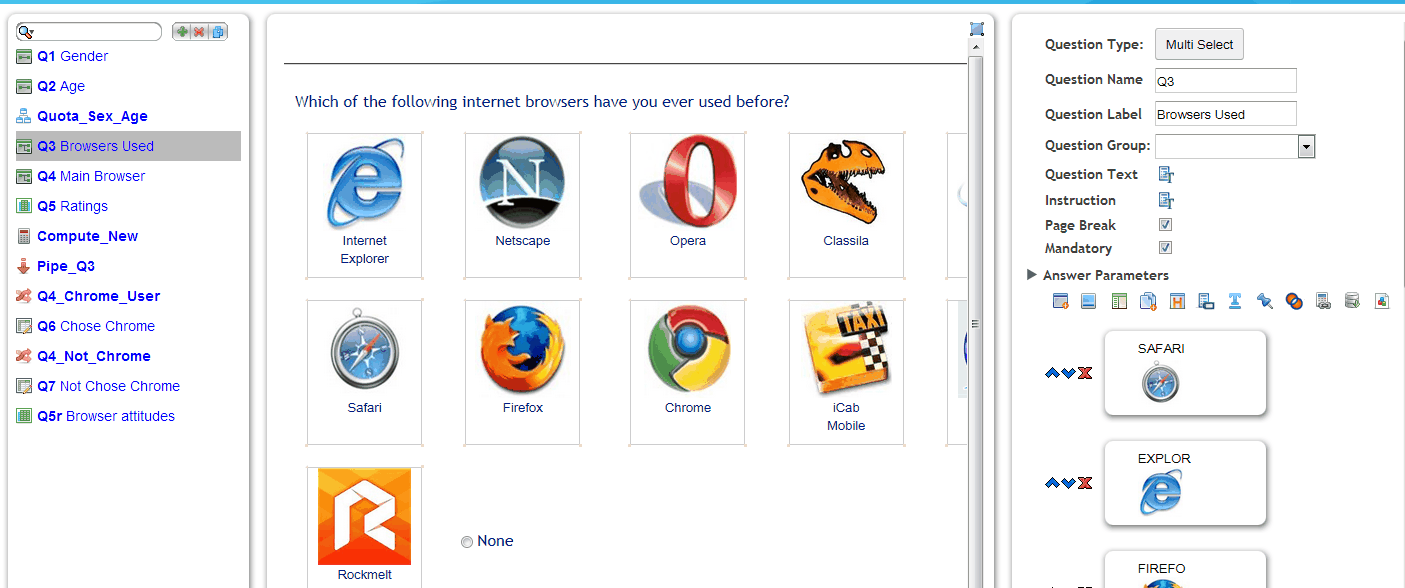
Shown below is an image of the survey editor screen with with some questions already added. The editor is split into three distinct panes.
The left pane is where you add the type of question or control you wish to add.
The centre pane shows the current question as it currently looks.
The right hand pane contains the parameters that you need to complete to build your question.
A.) Add questions.
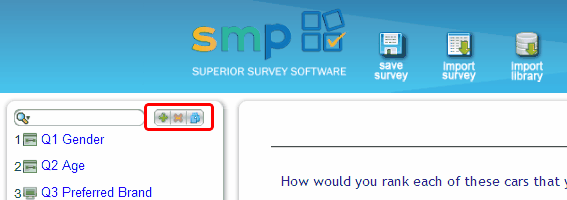
Press the green plus icon below to add questions. (circled below).
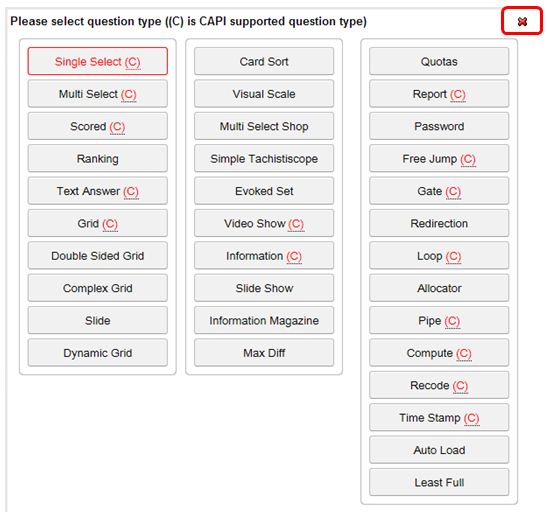
A pop up will appear when you press this green plus button. Select the question type or control that you wish to add and close the pop up by pressing the red x.
The red (c) indicates which question types are available to the CAPI face to face system. All other question types and controls are available to the online system.
B). Add your question text. Now enter the details of the question by completing the parameters of the question in the right hand pane (the Parameters Pane) starting with the ‘question text’
Click on the question text rich text editor (circled below) and type your question into the rich text editor (RTE) popup.

Close the RTE and the question text will appear in the centre pane.
C). Add some answers
Clicking on the “Add Text Answer” icon circled below to add some answer options.

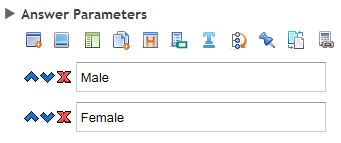
A box will appear below this icon. Type your answer text into this box. The example below shows two answers added – ‘Male’ and ‘Female’.
The other icons next to the one circled above allow you to add different types of answers.
- The second icon across will take you to the image library where you can upload and choose which images to use as your answers,
- The third icon creates a Rich Text answer – clicking on the RTE icon next to the answer box that appears below will open the RTE which will enable you to add a more formatted answer,
- The fourth option will enable you to cut and paste your entire answer frame from a word processed document into your question. Place each answer on separate lines in the pop up.
D). Add some more formatting if required.
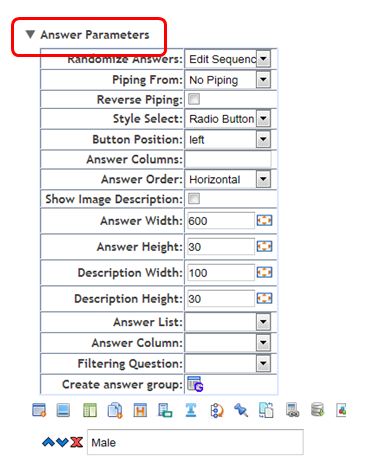
To further format your question or add some controlling parameters press the ‘Answer Parameters’ text or arrow to reveal the relevant option types for this question type. These parameters are question wide, that is they tend to apply to the question as a whole. The items below this apply to the Answer Options.
The following red circled options allow you to format the answers individually – adding skips, values resizing etc.
E). Review your question
In the centre pane (the Display Pane) the question will appear. You can now and adjust the parameters as required.
You can also change the entire theme of the survey if required using the ‘survey themes’ button on the top of the screen. There are 30 themes to choose from or you can build your own.
For a more complete explanation on creating questions and and the options and parameters available see the chapters “Create and Conduct a Survey” , “Question Wide Parameters”, and “Answer Wide Options”.
Continue this process until you have entered all your question or controls.
You also add controls here such as quotas, skips called gates, complex pipes and many other controls. Please refer to the manual for more detailed explanation of all the question types and controls that are available.
Stage 3. Test Your Survey – Move from “Design” mode to “Test” mode
Initially all newly created surveys are in “Design” mode. However to start collecting data you need to move to “Deploy” mode. First you need to move to “Test” mode where there are some testing options you can use.
To move from “Design” mode to “Test” mode hover over the survey you are working on that is in “Design” mode and click on the “Test” mode icon. Circled below.

Your survey will now be placed in “Test Mode” and its icon will change. SHOWN BELOW.

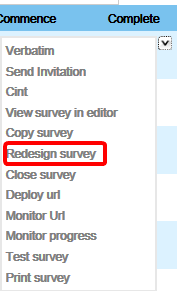
Note: In “Test” mode the survey cannot be edited but allows you to collect test data. If you wish to edit the survey again after some testing then you need to put it back into “Design” mode. To do this select “Redesign survey” from the drop down menu which you open by clicking on the down arrow at the end of the survey line (circled above).
Clicking this arrow will reveal the following menu – select “Redesign survey” to place the survey back into design mode. (circled below).
NOTE: Moving back to ‘Design’ mode will archive the test data for latter use until the survey is deployed..
HOWEVER – When you move a survey to ‘Deploy’ mode, test data is erased.
The rules are these:
- Returning to ‘Design’ mode from ‘Deploy’ mode NEVER ERASES data. It is always archived.
- Returning to ‘Design’ mode from ‘Test’ mode archives the test data, unless you move to ‘Deploy’ mode.
- Moving to ‘Deploy’ mode ERASES test data sets
Stage 4. Deploy your survey – Moving from test Mode” to Deployed” mode.
Once you have fully tested your survey in “Test” mode you need to place the survey in “Deploy” mode. This is the mode you use to distribute your survey and collect data.
To do this select the “Deploy survey” icon and click on it.

Your survey will now be placed in “Deployed” mode and its icon will change. SHOWN BELOW

Your survey is now ready to be launched.
There are three ways to launch your survey:
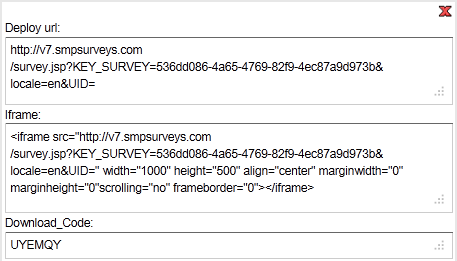
- Send the survey URL to your panel of respondents (the most common method),
- Include the survey in a website using an iframe ,or,
- Download from a tablet for use with the SMP CAPI mobile survey app
To see these options click on the arrow at the end of the surveys line on the main screen and select “Deploy URL”.
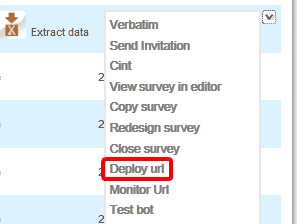
The following screen will pop up with the three options.
[/vc_column_text]

